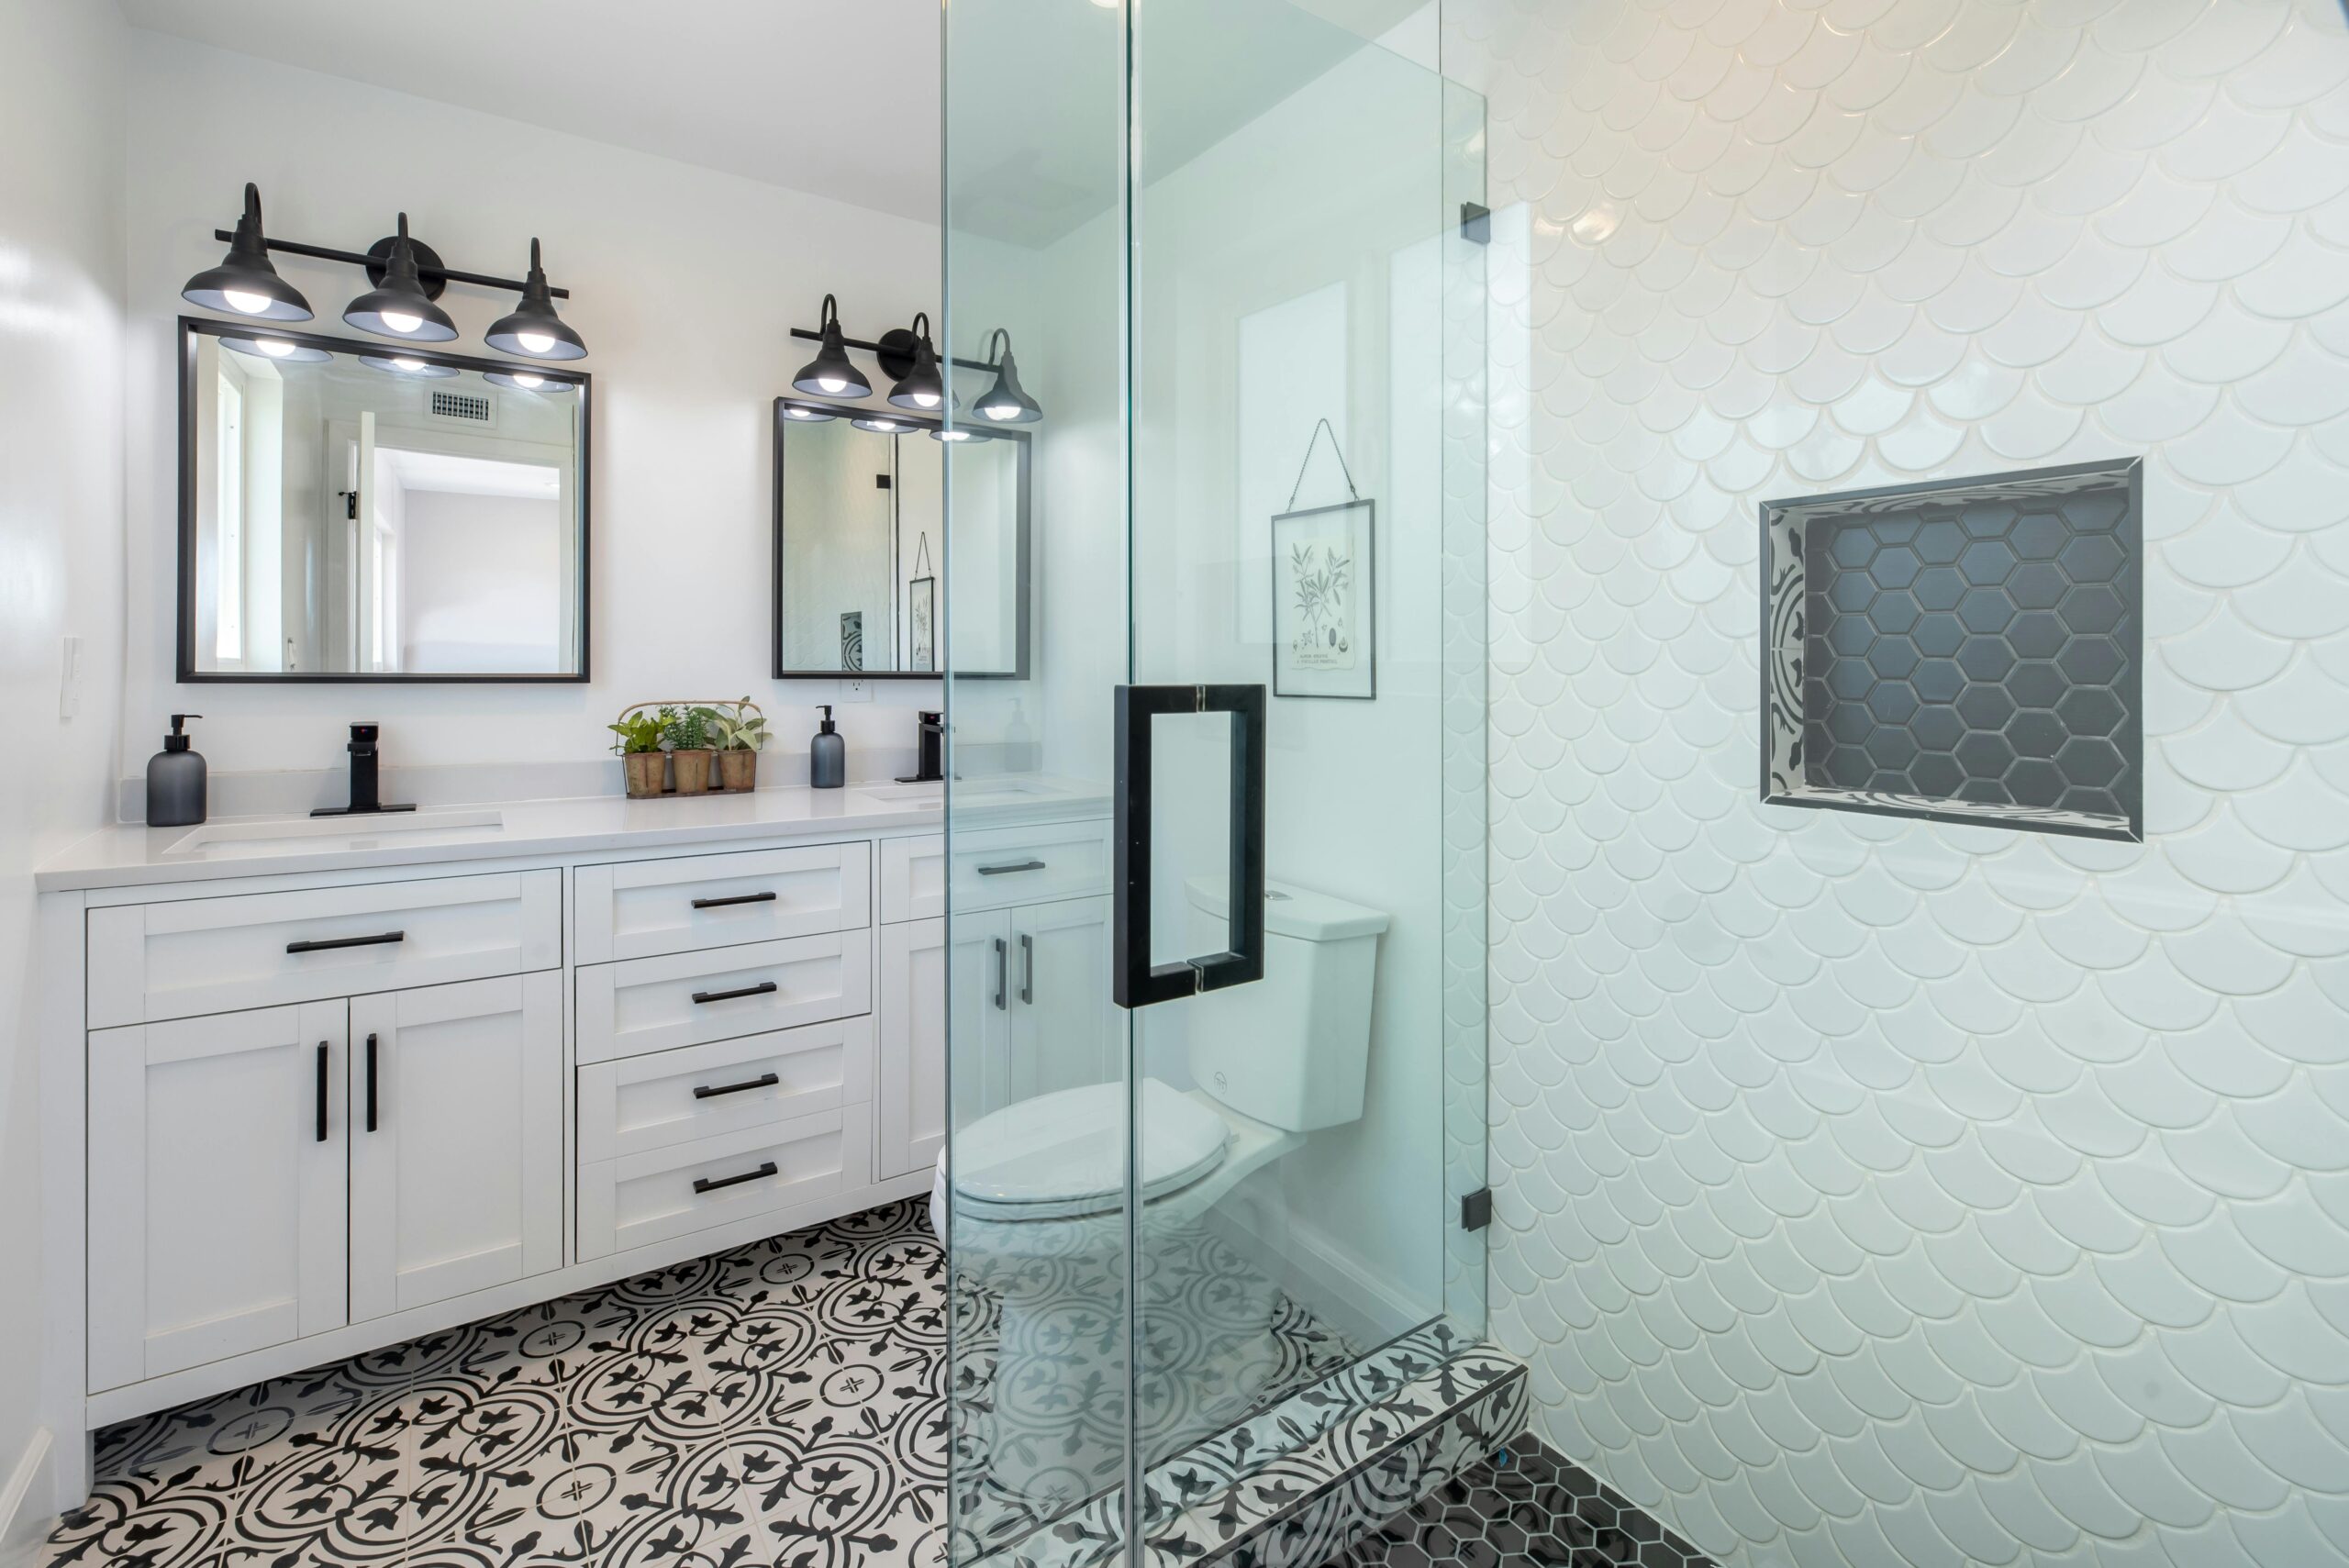
Embarking on a DIY bathroom remodel can be an incredibly rewarding experience, allowing you to infuse your personal style and creativity into every aspect of the project. While tackling a bathroom renovation on your own requires careful planning, patience, and perseverance, the end result is a space that reflects your unique vision and enhances the functionality and aesthetics of your home. In this blog post, we’ll explore the steps involved in a DIY bathroom remodel and offer tips and inspiration to help you achieve stunning results.
Step 1: Inspiration and Planning
Begin your DIY bathroom remodel by gathering inspiration and envisioning your ideal space. Browse design magazines, websites, and social media platforms for ideas and inspiration, and create a mood board or Pinterest board to organize your thoughts. Consider factors such as layout, color scheme, fixtures, and finishes, and develop a clear vision for your project.
Step 2: Set a Realistic Budget
Before diving into your remodel, establish a realistic budget that takes into account materials, tools, and potential unforeseen expenses. DIY projects often require investing in tools and supplies upfront, so be sure to factor these costs into your budget calculations. Additionally, consider where you can save money by tackling certain tasks yourself and where it may be worth hiring professionals for specialized work.
Step 3: Demolition and Preparation
Once you have a plan in place and a budget established, it’s time to roll up your sleeves and get to work. Start by clearing out the existing fixtures, cabinets, and flooring to make way for the new elements of your bathroom design. Take care to disconnect plumbing and electrical fixtures safely and securely, and be sure to wear appropriate protective gear, such as gloves and goggles, during demolition. Don’t forget to turn the water off before disconnecting any existing plumbing. There are usually handles to shut off only the specific area you’re working on behind sinks. Make sure you know where the home shutoff and street water shut off are beforehand in case of emergency. You’ll want to turn off all water if you’re replacing tubs or showers. When working on light fixtures, it is always best to turn off electricity for the entire house rather than depending on correct labeling in the panel.
Step 4: Installation of Fixtures and Finishes
With the space cleared and prepared, it’s time to begin installing the new fixtures and finishes that will breathe new life into your bathroom. Whether you’re installing a new bathtub, shower, vanity, or toilet, follow manufacturer instructions carefully and take your time to ensure a proper fit and finish. The easiest way to install a vanity is to find one that already has a countertop and sink attached. You can easily choose a faucet you’d like and connect it, just be sure it matches the hole pattern in your countertop. Consider enlisting the help of a friend or family member for tasks that require extra hands or expertise.
Step 5: Flooring and Wall Treatments
Once the major fixtures are in place, turn your attention to flooring and wall treatments to complete the look of your bathroom. Whether you choose tile, vinyl, laminate, or another material for your flooring, be sure to measure carefully and install according to manufacturer guidelines. For walls, consider options such as paint, wallpaper, or tile to add texture and visual interest to the space.
Step 6: Finishing Touches
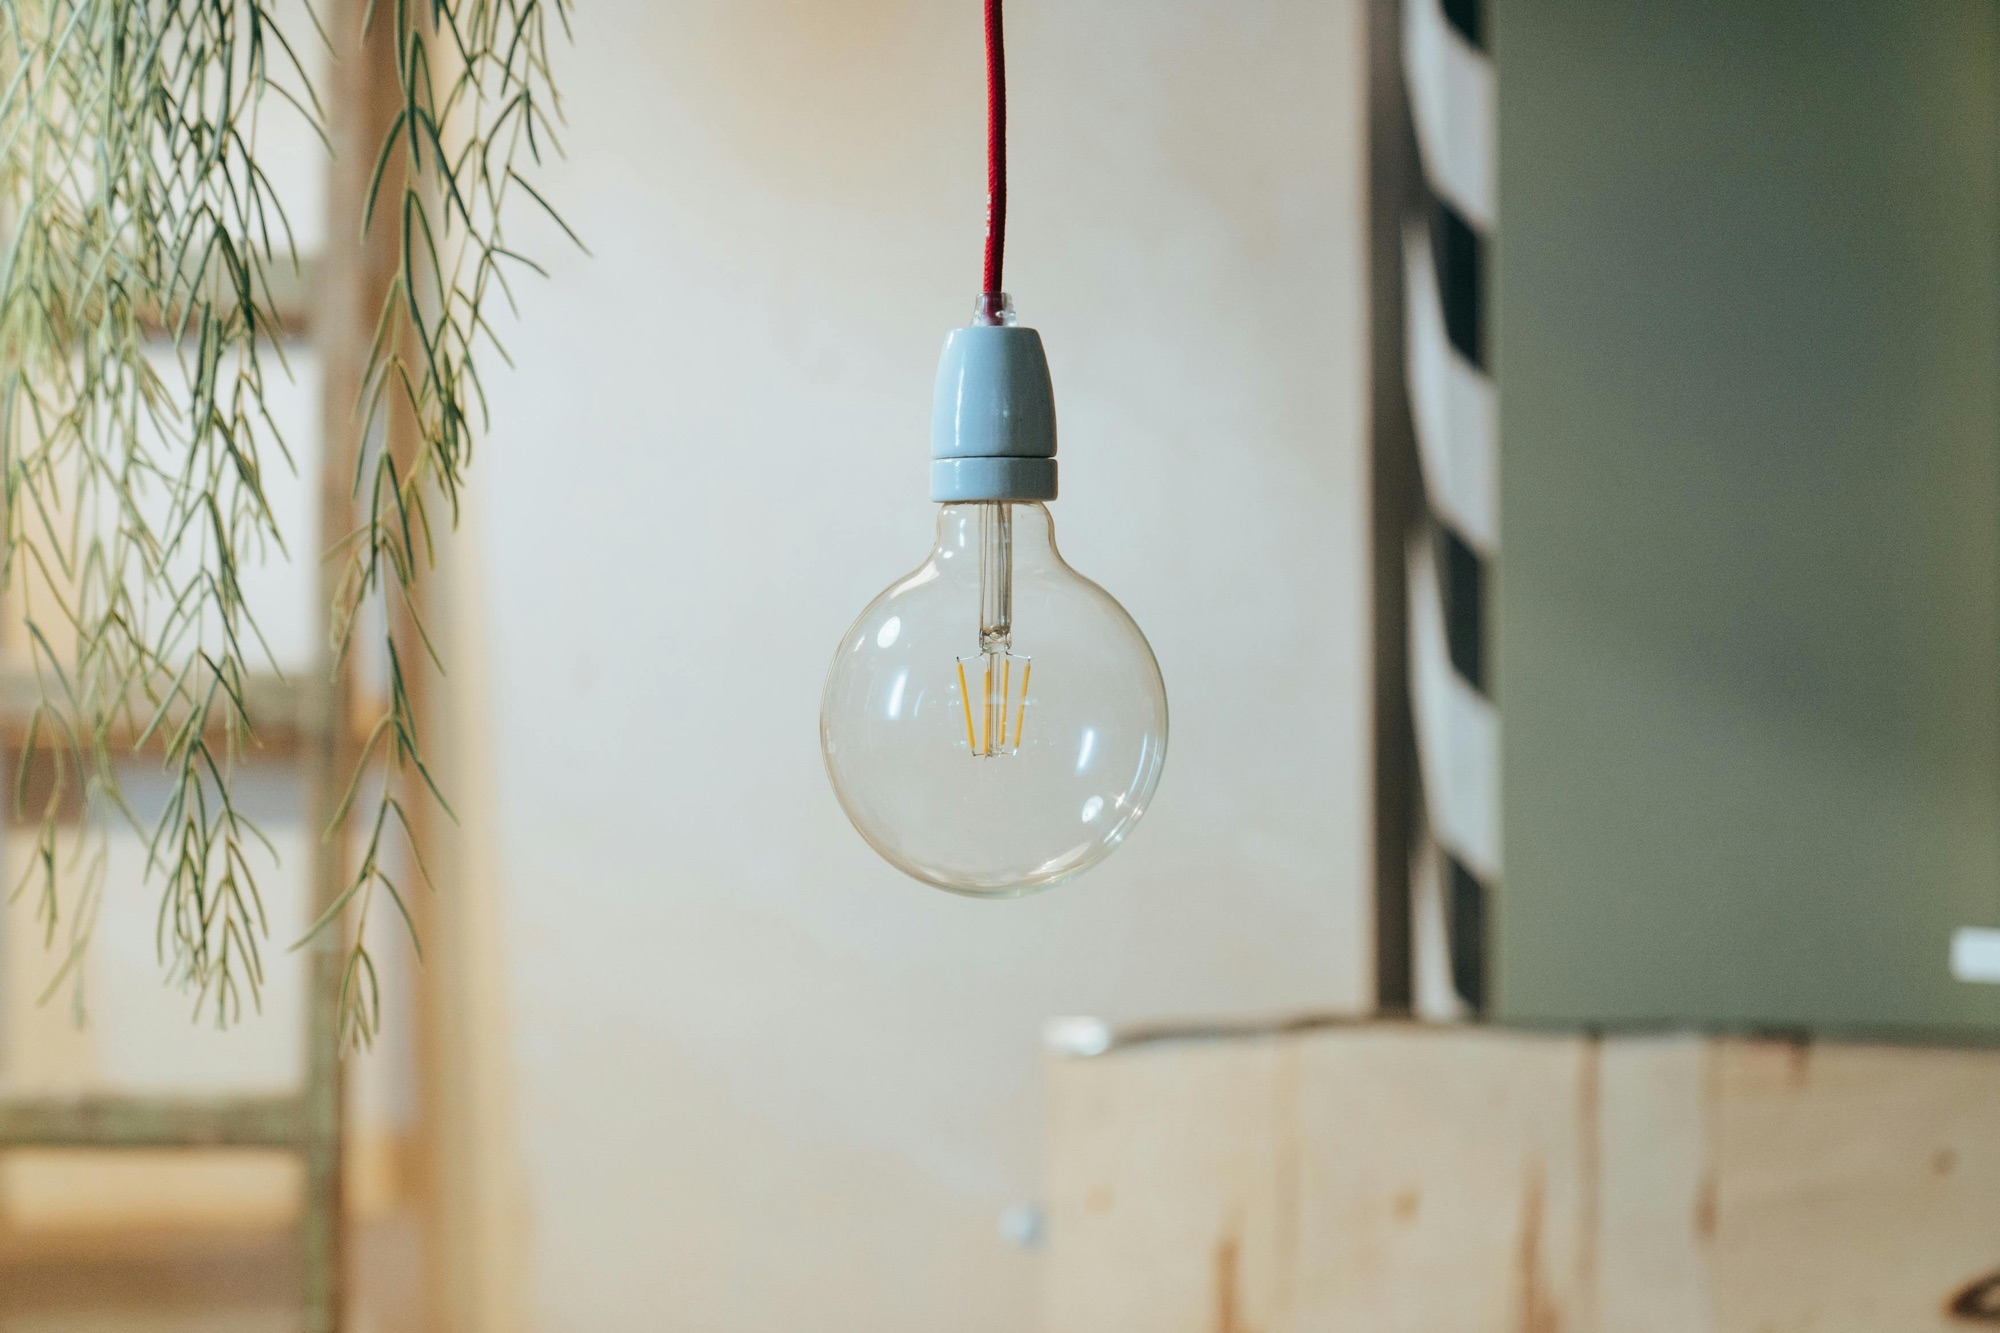
With the major elements of your bathroom remodel complete, it’s time to add the finishing touches that will tie the space together and make it feel like home. Install lighting fixtures, mirrors, hardware, and accessories that complement your design aesthetic and enhance the functionality of the space. Consider adding plants, artwork, and decorative accents to add personality and warmth to your newly renovated bathroom.
Step 7: Enjoy Your New Space
Once your DIY bathroom remodel is complete, take a moment to step back and admire your handiwork. Revel in the satisfaction of knowing that you’ve transformed your space with your own two hands and created a beautiful and functional oasis within your home. Invite friends and family to share in your accomplishment, and enjoy the newfound comfort and style of your refreshed bathroom.
A DIY bathroom remodel is a challenging yet rewarding undertaking that allows you to unleash your creativity and make a lasting impact on your home. By following the steps outlined in this guide and approaching your project with careful planning and attention to detail, you can achieve stunning results and create a space that reflects your unique personality and style. So roll up your sleeves, grab your tools, and get ready to transform your bathroom into a haven of beauty and relaxation.


