Raised garden beds offer numerous benefits for gardeners of all levels, from improved soil drainage to better weed control and easier maintenance. Whether you’re a seasoned gardener looking to expand your growing space or a novice eager to start your gardening journey, building a raised garden bed is a rewarding and straightforward project that can yield impressive results. In this comprehensive guide, we’ll walk you through the step-by-step process of building your own raised garden bed.
1. Choose the Right Location: The first step in building a raised garden bed is selecting the perfect location. Choose a spot that receives plenty of sunlight, ideally at least 6-8 hours per day, for optimal plant growth. Ensure the area is easily accessible for watering and maintenance and has good drainage to prevent waterlogging.
2. Determine the Size and Shape: Consider the available space and your gardening goals when determining the size and shape of your raised garden bed. Raised beds can be rectangular, square, or even circular, depending on your preferences and the layout of your garden. Keep in mind that narrower beds, typically no more than 4 feet wide, allow for easier access to plants from all sides.
3. Gather Materials: Once you’ve chosen the location and size of your raised garden bed, gather the necessary materials. You’ll need untreated lumber such as cedar for the frame and a 2 x 4 to use as supports. Additionally, you’ll need galvanized screws or nails (must be galvanized to avoid rusting outdoors) to assemble the frame, as well as topsoil, compost, and organic matter to fill the bed.
If you’d prefer a precut kit to assemble, you’ll want to shop Greenes Raised Garden Beds. We’ve purchased many of their cedar kits and they are great quality and one of the most affordable options out there.
4. Build the Frame: Start by assembling the frame of your raised garden bed. Cut the lumber to the desired lengths for the sides of the bed and arrange them in the chosen shape. Use screws or nails to secure the corners, ensuring the frame is sturdy and level. We prefer decking screws as they’re sturdy and don’t rust. To add strength, cut a 2 x 4 to the height you want your finished bed to be. It should be small enough to fit on the inside of the frame without sticking out of the top. Place one in each corner and one or more on each side depending on how big of a bed you’re building. Depending on your aesthetic preferences, you can also cut the corner pieces to be slightly taller than the bed and attach fence post caps. Now, attach the first layer of boards to your 2 x 4 supports and follow with any additional layers of boards to your chosen depth.
5. Prepare the Soil: With the frame assembled, it’s time to fill the raised garden bed with soil. First put down a layer of cardboard to control weeds. Then mix together equal parts topsoil, compost, and organic matter to create a nutrient-rich growing medium. Fill the bed to the top, leaving a few inches of space between the soil and the top of the frame to allow for watering and settling.
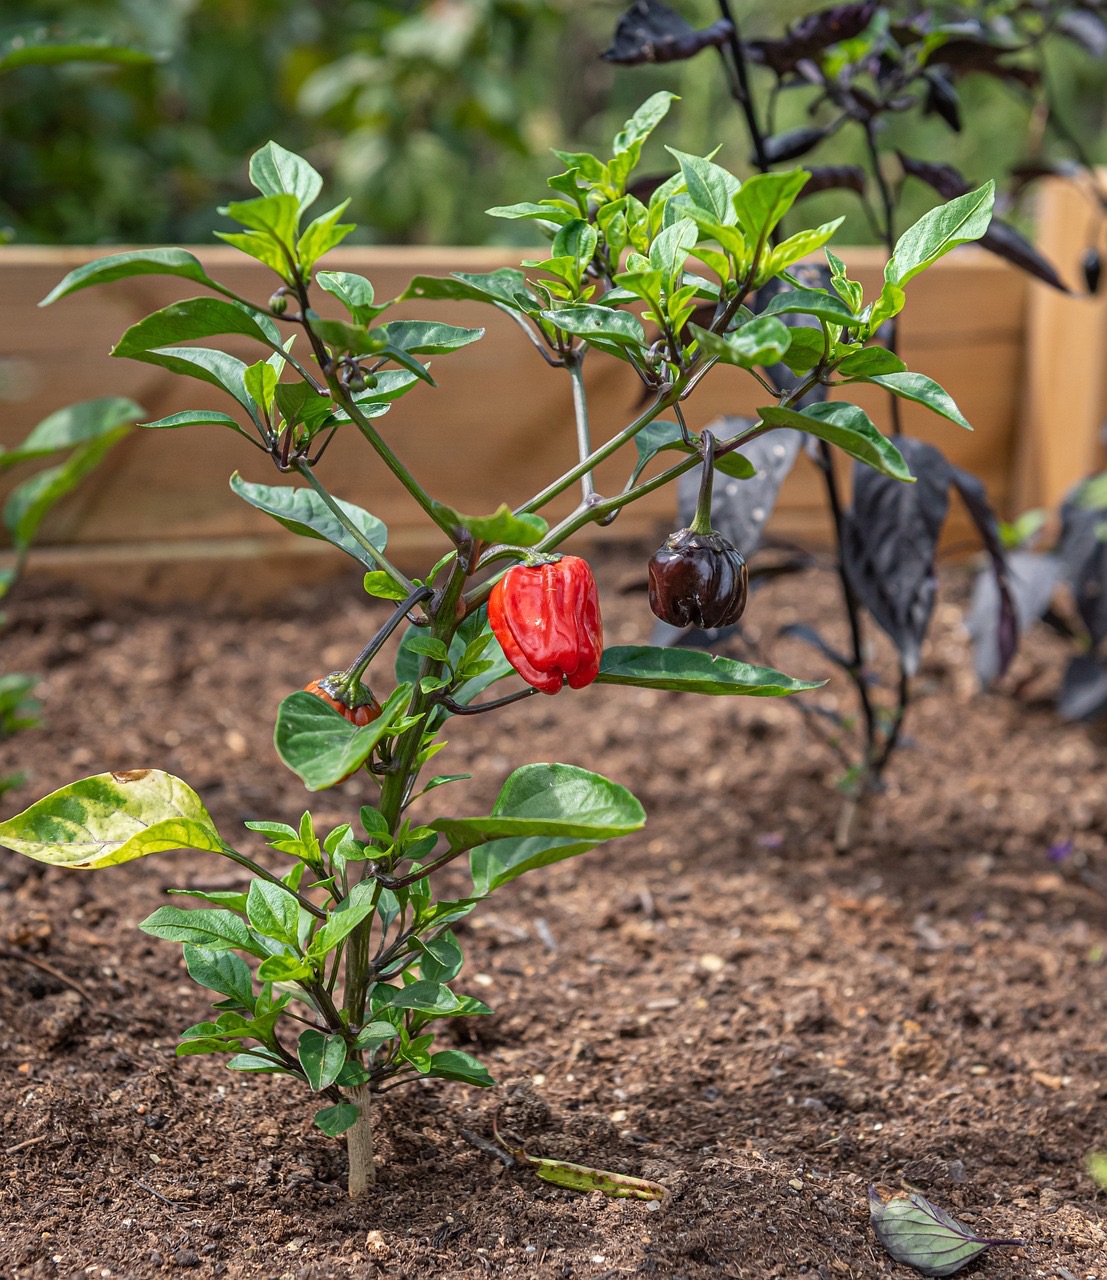
6. Plant Your Garden: Once the raised garden bed is filled with soil, it’s time to plant your chosen crops or flowers. Consider factors such as spacing, sunlight requirements, and planting depth when arranging your plants. Water them thoroughly after planting to help them establish roots and adjust to their new environment.
7. Maintain and Care for Your Garden: Regular maintenance is key to the success of your raised garden bed. Water your plants as needed, keeping the soil evenly moist but not waterlogged. Remove weeds regularly to prevent competition for nutrients and sunlight. Consider adding a layer of mulch to help retain moisture and suppress weeds, and fertilize your plants as needed to promote healthy growth.
Building a raised garden bed is a rewarding and practical way to create a thriving garden in your backyard. By carefully selecting the location, size, and materials for your raised bed, and following proper planting and maintenance techniques, you can enjoy a bountiful harvest and a beautiful garden for years to come. So roll up your sleeves, get your hands dirty, and elevate your gardening experience with a raised garden bed!


