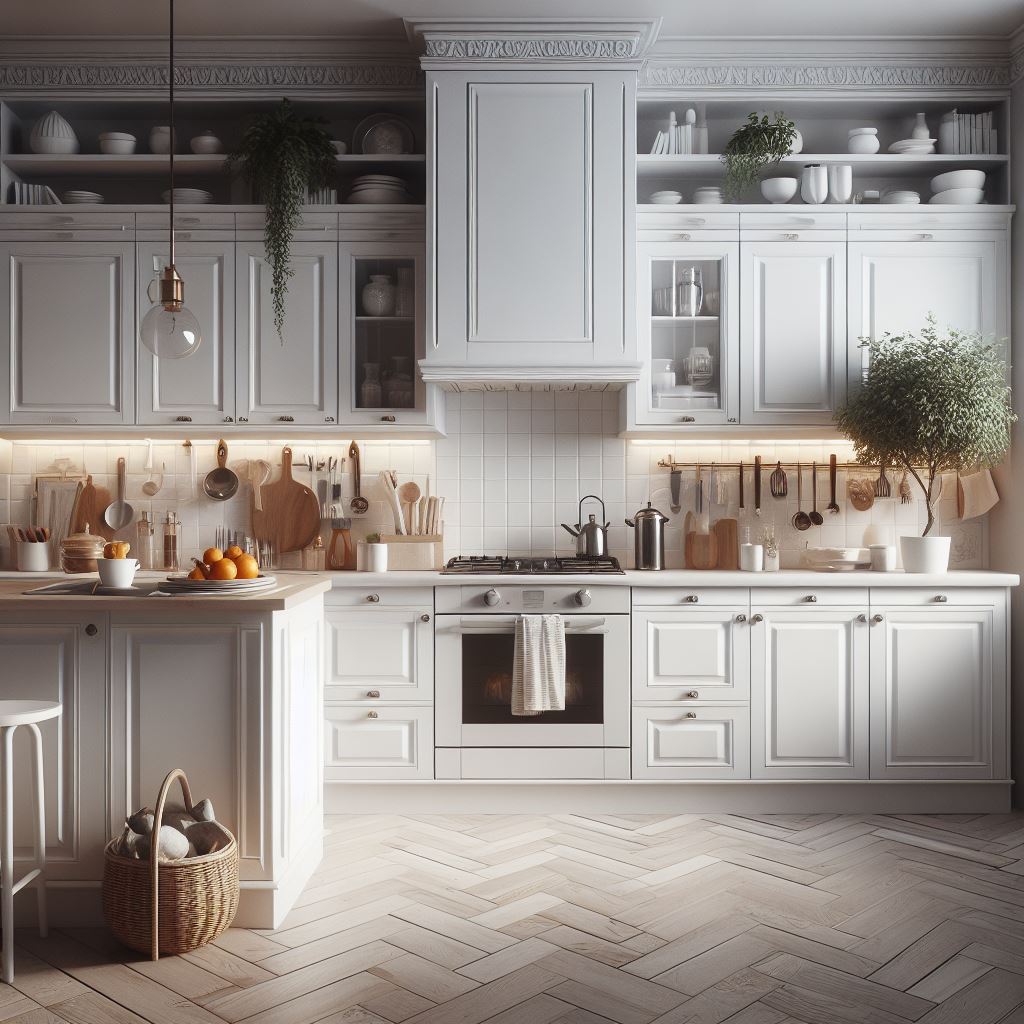
Is your kitchen feeling a bit tired and dated? Are you looking for an affordable way to give it a fresh, modern look? Painting your kitchen cabinets might be the perfect solution. Not only is it a budget-friendly option, but it can also completely transform the look and feel of your kitchen. In this step-by-step guide, we’ll walk you through everything you need to know for successfully painting kitchen cabinets to breathe new life into your space.
Step 1: Preparation
Before you start painting, it’s essential to properly prepare your cabinets. Begin by removing all hardware, including knobs, handles, and hinges (optional). Next, thoroughly clean the cabinets to remove any grease, grime, or residue. A mixture of warm water and dish soap works well for this task. Once the cabinets are clean, use a fine-grit sandpaper to lightly sand the surfaces. This will help the paint adhere better and ensure a smooth finish. The goal is not to remove all existing finish but just to scuff it up. Be sure to sand in the direction of the wood grain, likely up and down, so that if any scuffs get too deep or show through the paint they will look natural. This is one of the areas that can cause a lot of rework if not done properly.
Step 2: Prime the Cabinets
Priming is a crucial step in painting kitchen cabinets, especially if your cabinets have a glossy finish or if you’re painting over a dark color. If your new paint is a light color, this step absolutely cannot be skipped. There are tannins in the wood that will release into the paint (think would colored dye). Depending on how much sanding has been done, the color can actually be quite significant. The primer will block the tannins from leaking through to the paint. Choose a high-quality primer that is specifically formulated for use on wood surfaces. Apply the primer evenly using a brush or roller, making sure to cover all areas thoroughly. Allow the primer to dry completely before moving on to the next step.
Step 3: Choose Your Paint
When selecting paint for your kitchen cabinets, opt for a high-quality, durable paint that is designed for use on cabinets and trim. Semi-gloss or satin finishes are popular choices for painting kitchen cabinets, as they are easy to clean and provide a sleek, modern look. Be sure to choose a color that complements the rest of your kitchen decor and reflects your personal style.
Step 4: Apply the Paint
Once the primer is dry, it’s time to start painting. Use a brush or roller to apply the paint in thin, even coats, working in the direction of the wood grain. Start with the inside edges and grooves, then move on to the flat surfaces. Be patient and allow each coat to dry completely before applying the next one. Depending on the color and finish you choose, you may need to apply multiple coats for full coverage. To get a perfectly smooth finish without brush strokes you can use a paint sprayer but be aware there is a learning curve so practice first. Ideally on an old cabinet door if you can come by one.
Step 5: Reattach Hardware and Enjoy
Once the final coat of paint is dry, reattach the hardware to the cabinets. Take your time to ensure that everything is properly aligned and securely fastened. Step back and admire your newly painted kitchen cabinets. You’ll be amazed at how such a simple update can completely transform the look of your kitchen.
Tips for Success:
- Choose the right paint and primer for the job.
- Take your time and properly prepare the cabinets before painting.
- Use high-quality brushes and rollers for a smooth finish.
- Allow each coat of paint to dry completely before applying the next one.
- The downside of using a sprayer is that it can be hard to avoid bubbles in the paint. If this happens you can sand them out and spray another coat. You may need to adjust the spray speed.
- Pay attention to the weather if using a paint sprayer. If you will be spraying outdoors there cannot be any rain. You’ll want to choose a moderately warm day because the paint will dry too fast if it’s hot out causing bubbles to be seen in the dried product.
- If using a sprayer, you’ll want to work in halves. So back halves first, let them dry then spray front halves of the doors. Ladders with boards across the steps can make good DIY drying racks.
Painting your kitchen cabinets is a cost-effective way to update your space and breathe new life into your kitchen. With proper preparation and attention to detail, you can achieve professional-looking results that will leave you feeling proud of your DIY skills. So why wait? Grab your paintbrushes and get started on transforming your kitchen today!


